[Spring-cloud] Configuration Service
Configuration Service?
각각의 마이크로 서비스들이 갖고 있는 설정 정보를 한 서버에서 관리하는 기능(각 서버의 yml 정보 등)
Spring Config Server
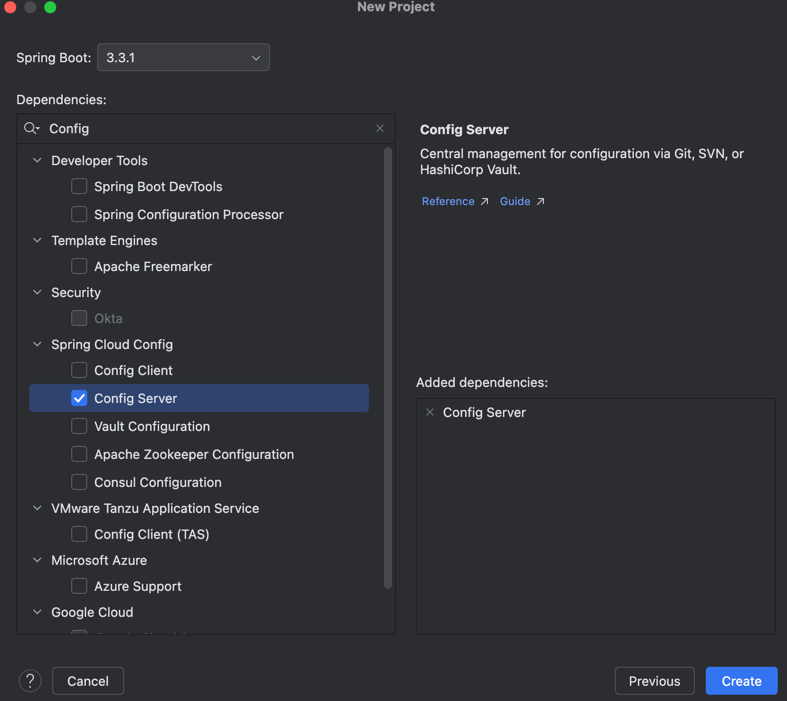
config 서버 프로젝트 생성
config 서버 main 설정
@SpringBootApplication
@EnableConfigServer
public class ConfigServiceApplication {

    public static void main(String[] args) {
        SpringApplication.run(ConfigServiceApplication.class, args);
    }

}
config 서버 yml
native 와 git 둘 다 있을경우 native > git 순으로 적용 된다.
server:
  port: 8888

spring:
  application:
    name: config-service
  cloud:
    config:
      server:
        native:
          search-locations: file:///Users/hipzil/...
        git:
          uri: https://github.com/dadaok/...
          default-label: main
yml git Repository 생성
깃 레파지토리는 github 에 미리 생성해 둔다.
# git 폴더로 이동 후
git init

# 깃 주로 입력
git remote -v
git remote add origin https://github.com/dadaok/...

# 깃 권한
git remote set-url origin https://<id>:<token>@github.com/dadaok/...git

# 올리기
git add .
git commit -m "up"
git push -u origin main
service 서버 설정 의존성 추가
- spring-cloud-starter-config
- spring-cloud-starter-bootstrap
dependencies {
    ...
    implementation 'org.springframework.cloud:spring-cloud-starter-config'
    implementation 'org.springframework.cloud:spring-cloud-starter-bootstrap'
    ...
}
config 서버 정보 추가
Spring Boot 2.4 이전 버전에선 bootstrap 의존성을 추가 후 bootstrap.yml 에 하기 정보를 입력 한다. bootstrap 은 선 반영 된다.
Spring Boot 2.4 버전 이후에는 application.yml 설정파일로도 Config Server 데이터를 가져올 수 있게 되면서 더 이상 쓰지않게 되었다.(의존성도 삭제)
spring.cloud.config.name 의 서비스 이름과 profile 명이 파일 이름이 된다.
ex)- .yml
spring:
  cloud:
    config:
      name: <서비스 이름>
  config:
    import: optional:configserver:http://127.0.0.1:8888/
yml 배포 방법
- 서버 재기동
- Actuator refresh
- Spring cloud bus 사용
Actuator refresh
actuator 기능을 사용하여 각 서버의 config 정보를 현행화 하는 기능.
각 서버에서 /actuator/refresh 를 호출한다.
- Actuator 의존성을 추가 한다.
dependencies {
    ...
      implementation 'org.springframework.cloud:spring-cloud-starter-config'
      implementation 'org.springframework.cloud:spring-cloud-starter-bootstrap'
    ...
}
시큐리티 설정
...
        http.authorizeHttpRequests((authz) -> authz
        .requestMatchers(new AntPathRequestMatcher("/actuator/**")).permitAll()
...
yml
Spring Boot Actuator에서 제공하는 기능들 중 어떤 기능을 사용할 지 명시한다.
management:
  endpoints:
    web:
      exposure:
        include: refresh, health, beans
api gateway 설정
httptrace 설정은 실제 데이터가 어떻게 전송됬는지 보여준다.(암호화 확인을 위해 필요)
yml
...
  - id: user-service
    uri: lb://USER-SERVICE
    predicates:
      - Path=/user-service/actuator/**
      - Method=GET,POST
    filters:
      - RemoveRequestHeader=Cookie
      - RewritePath=/user-service/(?<segment>.*), /$\{segment}

...

management:
  endpoints:
    web:
      exposure:
        include: refresh, health, beans, httptrace
Spring cloud bus
RabbitMQ를 활용한 방법을 알아본다. actuator의 busrefresh를 사용하여 Config 서버에서 변경된 설정 정보를 한 번에 적용 한다.
RabbitMQ는 설치 되었다고 가정하며, /actuator/busrefresh 를 호출하여 사용한다.
의존성 주입(config server, service server 동일)
dependencies {
	...
    implementation 'org.springframework.cloud:spring-cloud-starter-bus-amqp'
    ...
}
yml(config server, service server 동일)
...

spring:
  application:
    name: config-server
  rabbitmq:
    host: 127.0.0.1
    port: 5672
    stream:
      username: guest
      password: guest
...

management:
  endpoints:
    web:
      exposure:
        include: ... busrefresh
암호화
스프링 클라우드 config는 중요한 프로퍼티를 쉽게 암호화할 수 있는 기능을 제공하며, 대칭(공유 시크릿) 및 비대칭 암호화(공개/비공개) 키 사용을 지원한다.
config 서버에서 복호화를 진행하여 서비스로 설정값을 넘겨주므로, config 서버만 설정하면 된다.
대칭 암호화
대칭 암호화는 키값 설정이 필요하며, 하기와 같이 사용 할 수 있다.
encrypt:
  key: <암호화키>
post 방식만 지원한다.
# (암호화)
http://localhost:8888/encrypt

# (복호화)
http://localhost:8888/decrypt
yml 에서 암호화 값 사용시 하기와 같이 사용한다.
spring:
  datasource:
    username: sa
    password: '{cipher}<암호화 값>'
비대칭 암호화
- public, private Key 생성 > JDK Keytool 이용
- 암호화 사용법은 대칭 방식과 동일하다.( {cipher}<암호화 값=""> )
키생성
$ mkdir ${user.home}/Desktop/Work/keystore
$ Keytool -genkeypair -alias apiEncryptionKey -keyalg RSA -dname "CN=dadaok, OU=API Development, O=dadaok.co.kr, L=Seoul, C=KR" -keypass "pass" -keystore apiEncryptionKey.jks -storepass "pass"
yml
encrypt:
#  key: <암호화키>
  key-store:
    location: file://${user.home}/.../apiEncryptionKey.jks
    password: pass
    alias: apiEncryptionKey
참고
- 설정 파일 이름은 {application}-{profile}.yml 또는 {application}-{profile}.properties와 같은 형태여야 한다.
# 환경별 컨피그 확인 방법
http://{config-server-url}/{application}/{profile}